You spend hours tending to your lawn and borders, nurturing growth, and battling weeds. But what about the trusted tools that help you achieve that picture-perfect garden? In many cases, they're put back in the shed, caked in mud, sap and grass clippings. And this means they come out of winter 'hibernation' in a rusty, blunt state come spring.
The truth is, neglecting your garden tools isn't just bad for the tools themselves. It's a hidden threat to your entire garden's health. Think of grassology: our concept for the science behind a healthy lawn and garden. Clean tools are your first line of defence against deficiencies and disease.
After years of testing garden tools in real UK gardens, one thing is consistent: tools that are cleaned regularly simply last longer and perform better. We're here to walk you through how to care for your garden tools, ensuring they last longer, perform better and protect your precious plants.
Why your garden tools deserve (and need) a little TLC
Beyond extending their lifespan, regular garden tool maintenance offers several crucial benefits:
- Biological Security: Dirty tools that have been used on infected plants can cause cross-contamination across plants. Understanding the impact this can have on your plants is a key element of grassology.
- Cleaner Cuts: Sharp blades allow plants to heal faster. A blunt blade tears the grass, leaving it vulnerable to pests.
- Improves Performance: Sharp, clean blades cut cleanly, promoting faster healing for plants and reducing strain on your body (and your tool's motor).
- Ready to Go for Gardening Season: Nothing kills your motivation for gardening like a mower that won't start or a rusted pair of secateurs.
- Saves Money: Proper care reduces the need for costly replacements or repairs.

"I used to spend more time untangling cords and scraping rust than actually gardening. When we designed our garden tool range, the goal was to make maintenance so simple you actually do it." - Nick Grey, Gtech Founder & Inventor]
The foundation of care: hand tools (secateurs, trowels, spades & loppers)
Even your simplest hand tools benefit immensely from a quick clean after each use. They're the backbone of your shed. Knowing how to clean your basic garden tools is important.
1. Scrape and Scrub: Use a stiff brush to remove dry soil. For sap on secateurs, use a cloth dipped in soapy water or a drop of linseed oil.
2. The Sand Bucket Hack: To keep spades and trowels rust-free, fill a bucket with sand and a small amount of mineral oil. Plunging your metal tools into this after use cleans and coats them in one go.
3. Dry Immediately: Moisture is the enemy. Never put a wet tool back in the shed.

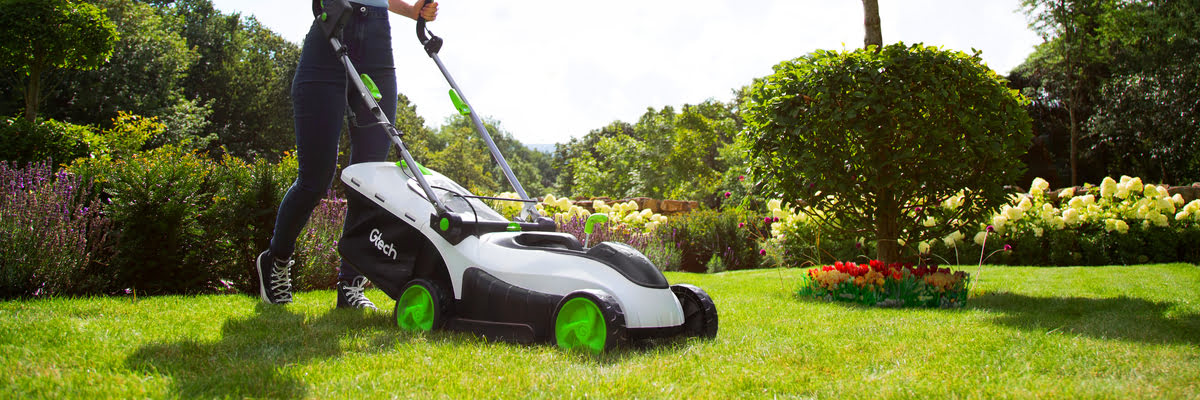
Mastering power tool maintenance (lawnmowers, hedge trimmers & grass trimmers)
When it comes to your power garden range, maintenance is about safety and performance. They may require a little more attention than hand tools, but the principles remain the same: clean, dry and protected.
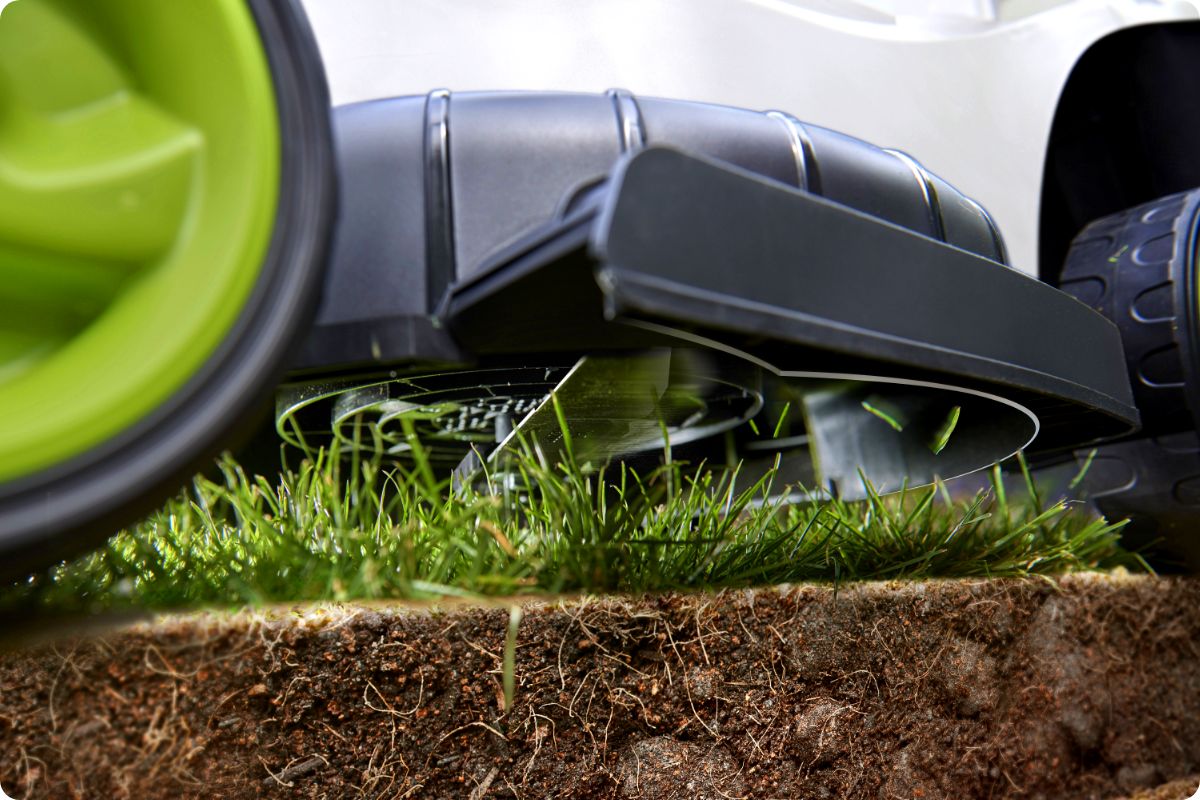
How to clean a lawnmower
To truly master how to clean a lawnmower, you have to look under the deck. Your lawnmower deck can harbour fungal spores and disease-causing organisms. Clumps of wet grass provide the perfect moist environment for these pathogens to thrive, ready to be transferred to your next strip of healthy lawn.
This is why cleaning garden tools, especially your mower, is non-negotiable for a vibrant lawn. It’s a key part of our grassology concept too.
- Disconnect the Power: Remove the battery or disconnect the spark plug. Never take any chances with moving components.
- Get Underneath the Mower Deck: If you’re struggling with a heavy petrol mower, cleaning is a nightmare. Gtech lawnmowers are lightweight, making it easy to safely tilt the machine to brush the deck.
- Remove the 'Green Concrete': Use a plastic scraper to remove grass from the mower blade and underside of the deck. Wipe away any caked-on mud with a cloth.
Pro Tip : A dull blade shreds your lawn. If your mower is vibrating or leaving ragged edges, it’s time to learn how to sharpen lawnmower blades.
How to clean hedge trimmer blades
Sticky resin is the primary foe here. If you're wondering how to clean hedge trimmer blades effectively:
- Remove the battery or ensure it’s unplugged: Safety is paramount.
- Alcohol or Resin Solvent: Wipe the blades down to remove sticky sap.
- Lubricate: Apply a light machine oil to the blades to keep them sliding smoothly.
"Our carbon steel blades are built for durability, but a quick clean ensures the motor doesn't have to work twice as hard to cut through the grime." - Nick Grey, Gtech Founder & Inventor]
How to clean a grass trimmer
Your grass trimmer often deals with the toughest, wettest grass, leading to significant build-up around the head and guard.
- Safety First: Always remove the battery, disconnect the spark plug (if petrol) or unplug before cleaning.
- Clear the Head: Remove any tangled grass, weeds, or debris from around the cutting head, shaft, and guard. A small screwdriver or knife can help carefully dislodge stubborn clumps.
- Wipe Down: Use a damp cloth to wipe down the head, guard, and shaft.
- Inspect Line/Blades: Check the cutting line for wear and replace if necessary. If your trimmer uses blades (plastic or metal), check for damage.
- Dry Thoroughly: Ensure all parts are dry before storage.
[QUOTE BOX:
"We designed our GT50 grass trimmer with easily replaceable plastic blades rather than wire or line. Their balance and cordless freedom also make them simple to clean and maintain - without the fuss of draining petrol engines." - Nick Grey, Gtech Founder & Inventor]
Winter storage: preparing garden tools for off-season
Proper winter preparation is key to prolonging the life of all your tools, especially the battery-powered ones. Knowing how to store garden tools is just as important as cleaning them.
- Battery Care: This is the big one. If you use cordless tools, never leave your batteries in a freezing shed over winter. Bring them indoors and store them at around 50–70% charge, or in line with the manufacturer’s guidance, to help maintain battery health.
- Vertical Storage: Use wall racks. Storing tools off the ground prevents moisture from the floor that can cause rust.
- Final Oiling: Give all metal surfaces a final wipe with an oily rag before ‘winter's hibernation.'
- Store Smaller Items in Drawers: You'll know where they are when you need them, and it'll also help to prevent moisture causing damage.
- Good Airflow: Make sure your shed or garage is well ventilated to prevent dampness.
[QUOTE BOX:
"One of the biggest maintenance risks with corded tools is the invisible damage caused to the power cable - when it's wrapped or spooled for storage. With our cordless garden tools, we've eliminated this risk, whether you're cleaning or storing." - Nick Grey, Gtech Founder & Inventor]
Your garden tool maintenance checklist
Maintenance Schedule
Keep your equipment in top condition with these regular checks.
| Task | Frequency | Why it matters |
|---|---|---|
| Brush off debris | After every use | Prevents 'green concrete' build-up and disease spread. |
| Wipe with oil/solvent | Monthly | Removes sap and creates a rust-proof barrier. |
| Inspect/Sharpen blades | Every 25 hours of use | Ensures clean cuts and reduces motor strain. |
| Clean mower deck | Monthly (or if wet) | Vital for grassology and preventing fungal growth. |
| Winterise batteries | Every Autumn | Essential for maintaining Lithium-ion cell health. |
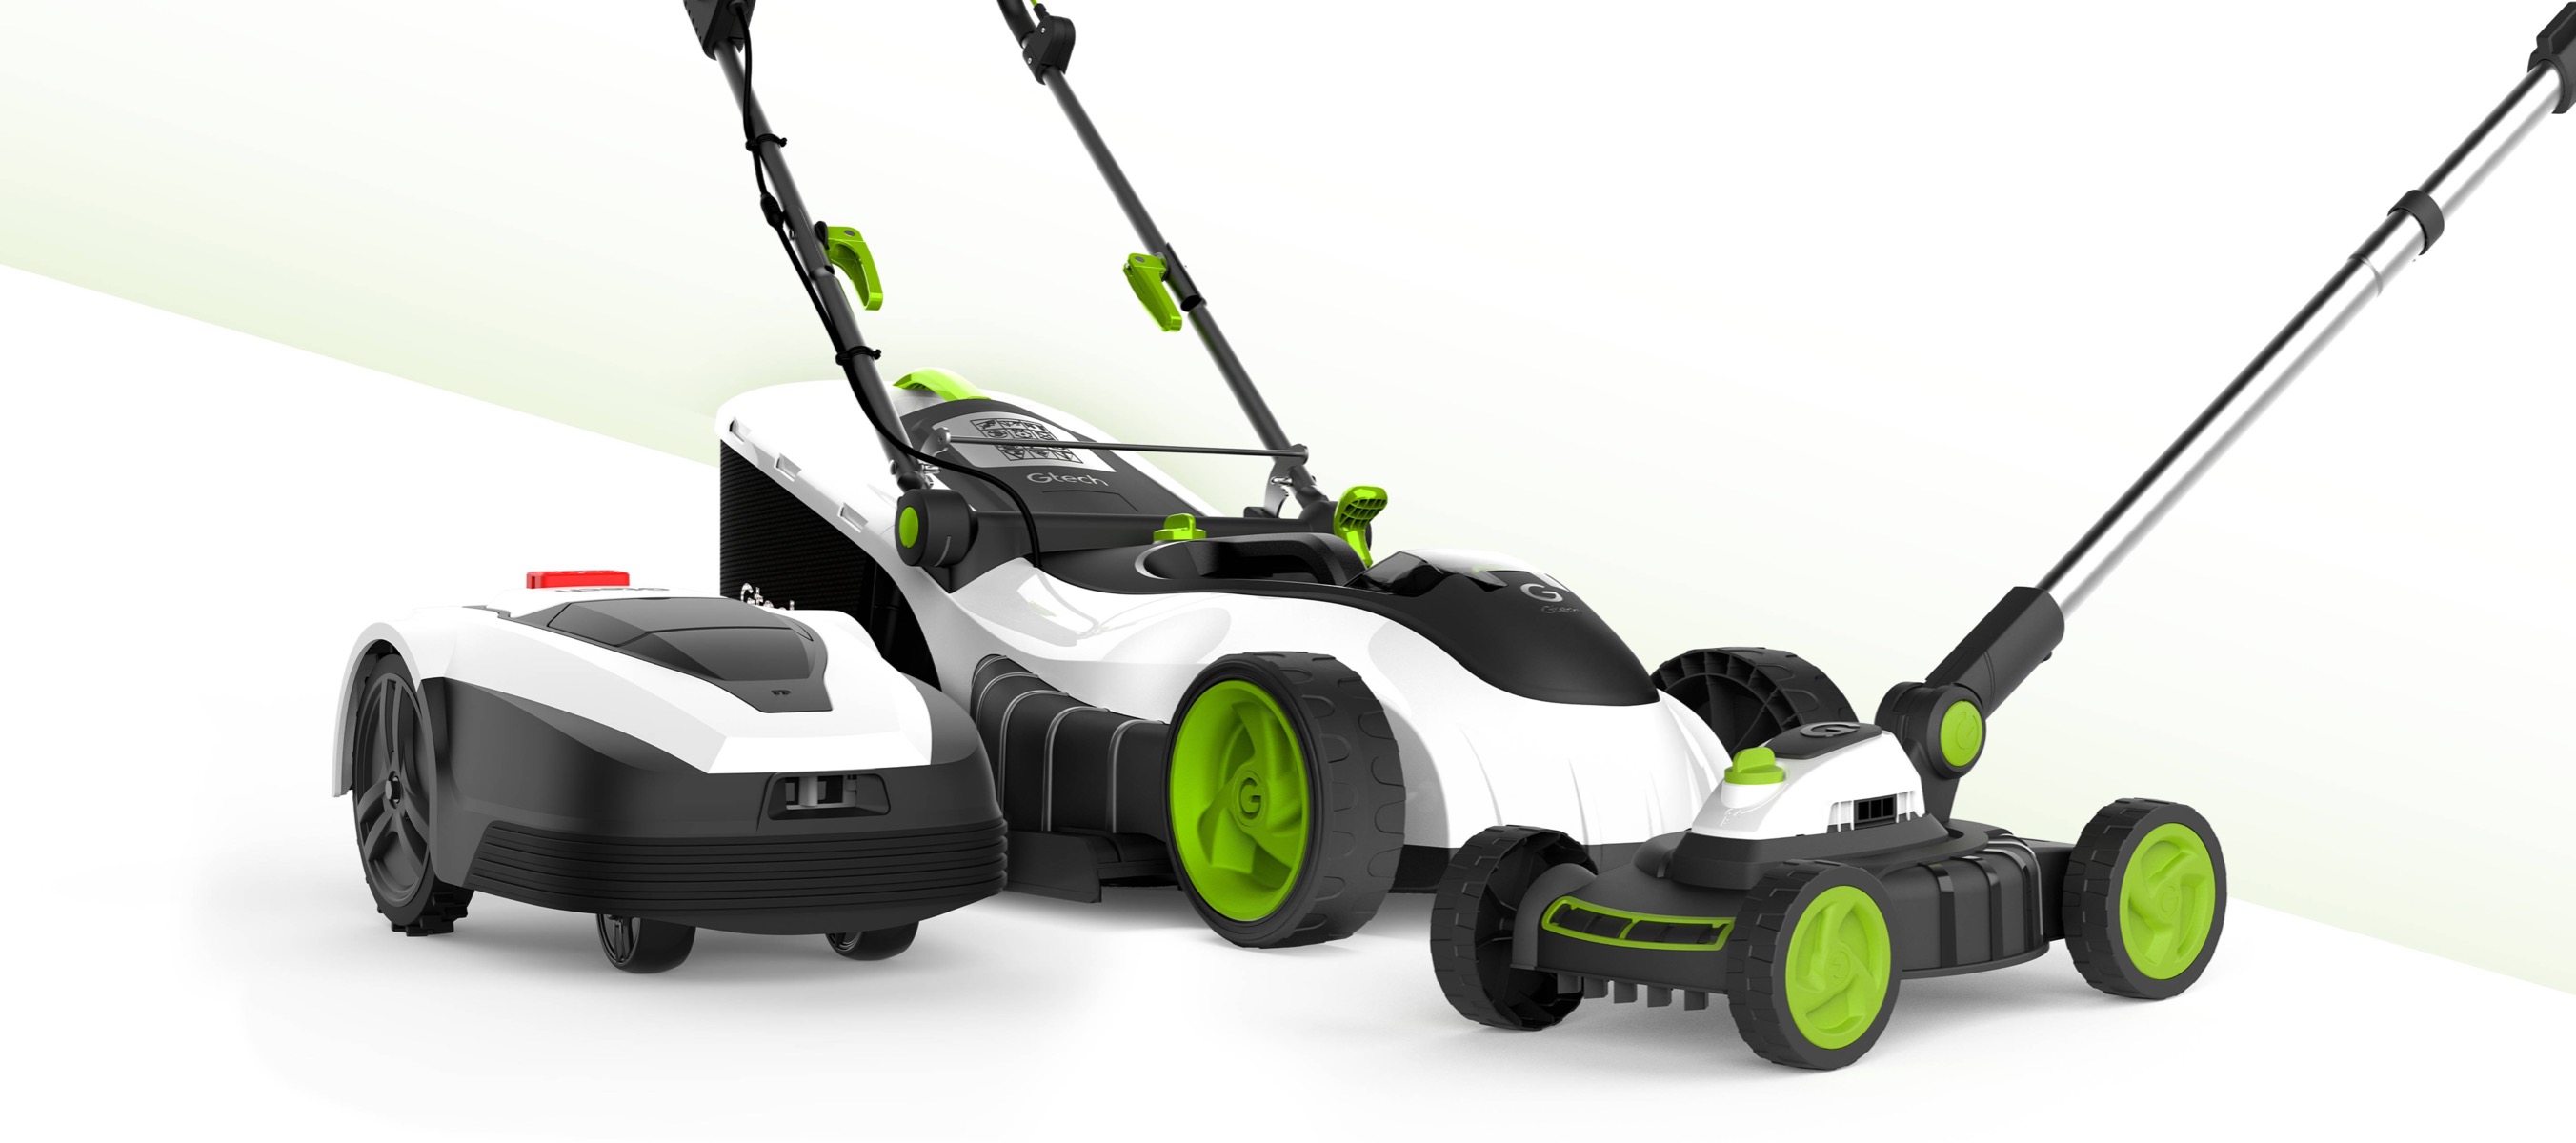
Looking to upgrade your gear for gardening season? Explore our range cordless garden tools today.
Want more gardening tips and advice? Learn more with our guides on how to trim hedges and bushes, how to clear overgrown gardens and how to mow the lawn.