How to Clear an Overgrown Garden
Few gardening projects match reclaiming a neglected garden space – seeing that transformation from ‘before’ to ‘after’ is amazing. However, there’s a lot of work in between to get to that point. Standing in front of wild grass, waist-high nettles and a bolted hedge can feel overwhelming.
The secret behind your success isn’t just brute force and lots of hard work. It’s about having a solid plan and the right tools for clearing an overgrown garden. This guide breaks the clearing process into manageable stages – to help you transform your wilderness into a sanctuary.
The ‘search and rescue’ phase (preparation)
Before you reach for the power tools, you need to understand the terrain. Neglected gardens sometimes hide ‘ankle-breakers’ and ‘equipment-destroyers’ – old bricks, rusted wire and uneven paving. It’s critical that you know where they are – to protect yourself and your tools.
- -Check for wildlife: Under the Wildlife & Countryside Act 1981, it’s an offence to damage or destroy the nest of any wild bird while it’s in use. Check your hedges thoroughly before any trimming. You can read more in our guide on hedge trimming regulations in the UK.
- -Map out any hazards: You can use a long garden rake or a sturdy cane to probe long grass. Mark any hidden obstacles with a bamboo cane so you know exactly where to avoid when mowing later.
- -Manual essentials: You’ll need a pair of heavy-duty secateurs for thick bramble stems, and a sharpened spade to define the ‘ghost’ of your original lawn edges.
Taming the perimeter (hedges and shrubs)
When you’ve got an overgrown garden, natural light is often your biggest casualty. Hedges and shrubs that have been allowed to go wild can make the space feel like it’s closing in, casting long shadows over what used to be a lawn.
Start your reclamation by trimming these vertical boundaries. Not only will this let the light back in, but you’ll also create more physical ‘elbow room’ in which to work – a massive advantage in smaller gardens.
The ‘one-third’ hedge trimming rule
You may have heard of the ‘One-Third Rule’ – never removing than a third of a plant’s total growth in one go. It helps gardeners to avoid over-pruning, which can shock the plant and lead to permanent damage. But what if you’re dealing with a total jungle of an overgrown garden?
- -Resilient species: Plants like Privet, Hawthorn and Beech are hardy. They can often handle a ‘hard prune’ back to the old wood and will regenerate.
- -Sensitive species: Conifers and Leylandii are less forgiving. If you cut past the green needles into the brown, woody undergrowth, those patches may never grow back.
The rule is a guideline for ongoing maintenance - not always realistic for a first-time clearance
[EXPERT TIP BOX: If you’re unsure on how to cut, check out our guide on How to Trim Hedges and Bushes, or see When to Trim Hedges to ensure you aren’t pruning during a high-stress season for the plant.]
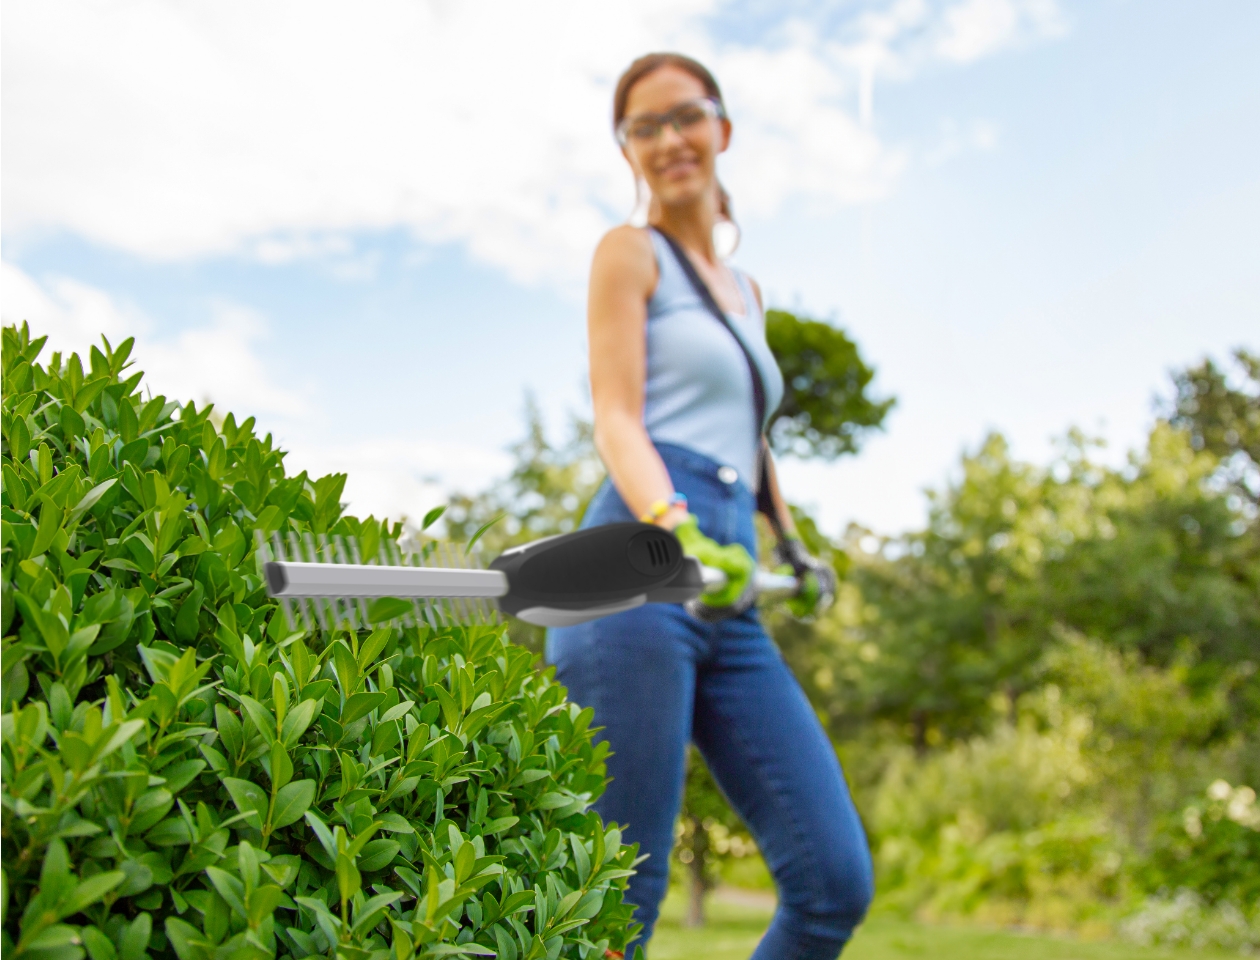
Which tools do we recommend for tackling overgrown hedges
For tall, out-of-control hedges, a standard trimmer often forces you onto a ladder – which is dangerous on the uneven ground of a neglected garden.
We recommend a long-reach hedge trimmer, like the Gtech HT50, or a model with a telescopic handle. This will enable you to take the weight from the top of the hedge.
 “When you’re clearing a garden that’s been left to go wild, the hardest part to tackle is usually the top of taller hedges. We gave our HT50 model a 10 foot reach and a 135° pivoting head. You can stand safely on the ground while the blades cut 'flat' across the top. You don’t have to fight gravity; you don’t have to perform a balancing act – the tool does the hard work.” – Nick Grey, Gtech Founder and Inventor]
If you’re working with shorter hedges, you can benefit from a solution that’s lighter, like the LHT50. With a lightweight frame, you reduce the risk of arm ache that sets in as you intricately shape shrubs over a long afternoon of clearing.
Clearing at ground level (brambles and long grass)
Now that you can see the fence, it’s time to tackle the ground. If your grass is waist-high, a regular lawnmower is simply going to struggle. You need to choose specific tools for overgrown gardens – that can clear the area first.
Which tools do we recommend for cutting brambles and long grass?
You effectively need two types of ground-level tools: one for the heavy hit and one for the final touch.
For waist-high grass and dense patches of nettles, a regular trimmer or brush cutter will help you scythe through bulky overgrowth. Steady horizon sweeps and a layered approach can help to reveal hidden hazards.
Once the ‘jungle’ has been tamed, a grass trimmer, like the Gtech GT50, becomes your go-to for bringing order to the chaos. It performs best on short-to-medium grass, with a unique design that makes the reclamation process easier.
Whereas string trimmers can get tangled in fibrous stalks, the GT50’s plastic blades cleanly slide through the remaining weeds and grass near your edges, fence lines and tree trunks. It weighs just 1.85kg too, so it’s ideal for ‘detail work.’ You can tidy the garden without the fatigue of lugging around a heavy petrol trimmer.
“We know that ‘finishing’ a garden – the edges, the corners and the areas around the patio – is often the most tiring part. We engineered the GT50 to be ultra-lightweight so that even after a long day of heavy cleaning, you can still put those crisp, final edges on your lawn. With none of the fight against arm ache.” – Nick Grey, Gtech Founder and Inventor]
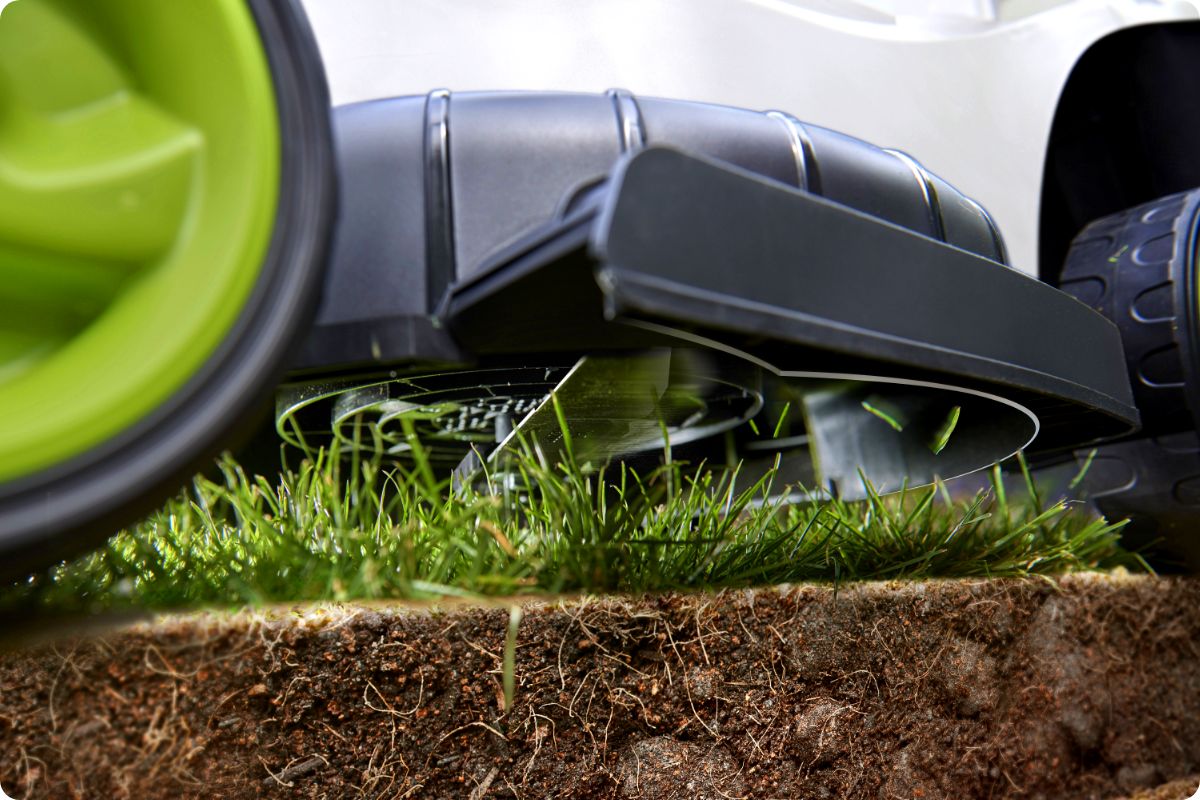
Restoring the lawn (the final cut)
When the tall weeds are cleared and the debris has been raked away, you can finally see your lawn. However, ‘scalping’ it immediately will shock the grass and invite the weeds to return.
Following the Royal Horticultural Society’s (RHS) best practices, you should never take off more than one-third of the grass blade height in a single session. You can learn more in our guide on when to mow your lawn and how often. We recommend setting your mower to its highest setting for the first mow. If you’re using the Gtech CLM50, it’s 75mm.
“Overgrown lawns are rarely uniform; you’ll hit thick patches followed by thin, dry grass. We built ‘Intelligence Power Sensing’ into the CLM50. The mower ‘feels’ the resistance and automatically ramps up from 2,800rpm to 3,500rpm when it hits the thick stuff, preventing the motor from stalling.” – Nick Grey, Gtech Founder and Inventor]
When is the best time to clear an overgrown garden?
It depends on what you’re looking to achieve: a blank canvas that provides maximum visibility, or project that allows your plants and lawn to recover.
- Late Winter – The logistical choice: For a major ‘demolition’ of an overgrown space, January and February are often the easiest for UK gardeners. Deciduous plants are dormant and leafless. It means you can see the ‘skeleton’ of your garden.
You’re also well ahead of primary bird nesting season, so you can perform heavy work with a lower risk of disturbing habitats – but you must check before carrying out any work!
Avoid doing any work when the ground is waterlogged, to avoid soil compaction, or when there’s been a frost. Neither lawns nor hedges respond well to being cut when there’s been a frost.
- Spring and Summer – The horticultural choice: If the priority is the health of your plants, the active growing season is often better for the plants themselves. As we’ve noted in our guide on When to Trim Hedges, many species (especially evergreens) respond best to being trimmed during the warmer months. It allows them to ‘heal’ their cuts and produce new growth.
You must check for active bird nests before you start though. If you find one, that specific area must be left untouched until the chicks have fledged.
- The hybrid strategy: We know there might not be a ‘right time.’ In this situations, we’d recommend a two-stage approach:
- -A rough clear: Knock the weeds down, clear the ground with a tool like the GT50 and remove dead debris to reclaim your space.
- -Precision trim: For the pruning of your hedges and shrubs, wait until the months recommended for specific species in our guide, when to trim hedges. It ensures your plants don’t just survive the clearance, but thrive afterwards.
How do you manage the green waste?
The best way is to clear as you go. If you leave all the cuttings strewn all of the ground, you’ll likely trip over them or hide the very hazards you tried to map out earlier.
1. Separate your waste
Not all garden waste is created equal. To make disposing of it easier, sort it into three piles:
-Soft green waste: Grass clippings, leafy hedge trimmings, and young nettles. These are gold for your compost heap.
-Woody waste: Thick branches and bramble ‘vines.’ These take years to break down in a standard compost bin and are better suited for a garden shredder or your local recycling centre.
-Invasive weeds: Plants like Japanese Knotweed or Ground Elder should never be composted at home, as they can regrow from tiny fragments and ruin your new beds.
2. Reduce your waste
An overgrown garden can easily produce more waste than your local council’s brown bin can handle in a month.
- -The ‘mow-over’ technique: For light leafy trimmings on the lawn, you can sometimes use the SLM50 to mulch them. By running the mower over small amounts of debris, the blades shred the waste into tiny pieces, reducing the volume by up to 80%.
- -Use a shredder: If you have used the HT50 to take significant height off a hedge, you’ll be left with woody stems. Shredding these turns a massive pile of ‘air’ into a compact bag of mulch you can use to suppress weeds in your newly cleared borders.
3. Disposal options
- -Council garden waste bins: They’re usually the brown bins, but can vary in colour depending on where you are in the UK. Check your local weight limits, as damp grass is surprisingly heavy.
- -The local tip (HWRC): Most local household waste and recycling centres have dedicated bays for garden waste. For a total clearance project, a few trips to the tip are usually inevitable!
- -Hire a skip: If your garden has reached ‘jungle’ state, a dedicated green waste skip might be the most stress-free option. It allows you to keep the site clear and safe as you work.
[PRO TIP: If you’re composting at home, aim for a ‘Lasagne’ layer approach. Alternate your ‘green’ (nitrogen-rich grass) with ‘brown’ (carbon-rich shredded wood or cardboard). This prevents the pile from becoming a smelly, slimy mess and speeds up the breakdown process.]
Protecting yourself with the right safety gear
A neglected garden isn’t just a mess – it’s a hazard zone. Thorns, flying debris from trimming and ‘kick-back’ from thick woody stems are just some of the real risks you might face. Here’s what you’ll need to keep yourself safe:
- -Eye protection: It’s essential when you’re using the GT50 or HT50. Safety goggles or a face shield protect you from flying woodchips, grit and sap.
- -Heavy-duty gloves: Look for thorn-proof or gauntlet-style gloves. They’re vital for handling brambles and nettles you’ve cut down.
- -Sturdy footwear: Steel-toe boots are ideal, but at a minimum, you need thick, non-slip soles to protect against hidden bricks or rusted nails in the overgrowth.
- -Long sleeves and trousers: Even in the summer, keep your skin covered to protect against scratches, ticks and skin-irritating sap.
Our Garden Safety Kit includes a pair of safety goggles and a pair of gardening gloves, which are ideal for these kinds of tasks.
Looking after your gardening kit – post-clearance maintenance
A garden clearance is a ‘heavy-duty’ workout for your equipment. Sap, moisture, and grit can degrade your tools if they are put away dirty.
- -Clean the blades: Use a damp cloth to remove sap and ‘gunk’ from your HT50 and GT50 blades. Dried sap acts like glue and can strain the motor next time you use it.
- -Check for moisture: Never store your mower or trimmers while they are wet. Wipe them down to prevent rust on the metal components.
- -Sharpening and replacement: After a big clear-out, check your GT50 blades for chips. If they are heavily worn, replace them to maintain a clean, efficient cut for your next maintenance session.
- -Battery care: Once the job is done, remove the batteries and give them a full charge before storing them in a cool, dry place.
Once the hard work is done, maintaining your reclaimed space becomes far easier with lightweight, cordless tools designed for regular upkeep.