If you’re passionate about gardening, then you’ve likely come across those sleek-looking striped lawns and wondered how on earth they do it. Well, we’re here to show you how.
Just to quickly note, you might’ve read up on this yourself and seen people using garden tools like a roller to achieve this clean look, but you don’t actually need one. You can easily get stripes on your lawn without a roller by using the humble lawnmower.
So, pop those gardening gloves on, and let’s look at how to get lines in your lawn
1. Get to grips with the basics
Before we get into the detail, you need to understand the basics of how lawn stripes actually work.
It’s light from the sun reflecting off each blade of grass that causes lawn stripes. Meaning, if you mow away from you, the light will reflect differently than if you mow towards you – and that’s how we create the striped lawn effect.
Mow in your direction to cast a dark shade, and mow away from you to create a lighter shade. It’s just that simple!
2. Set your mower length
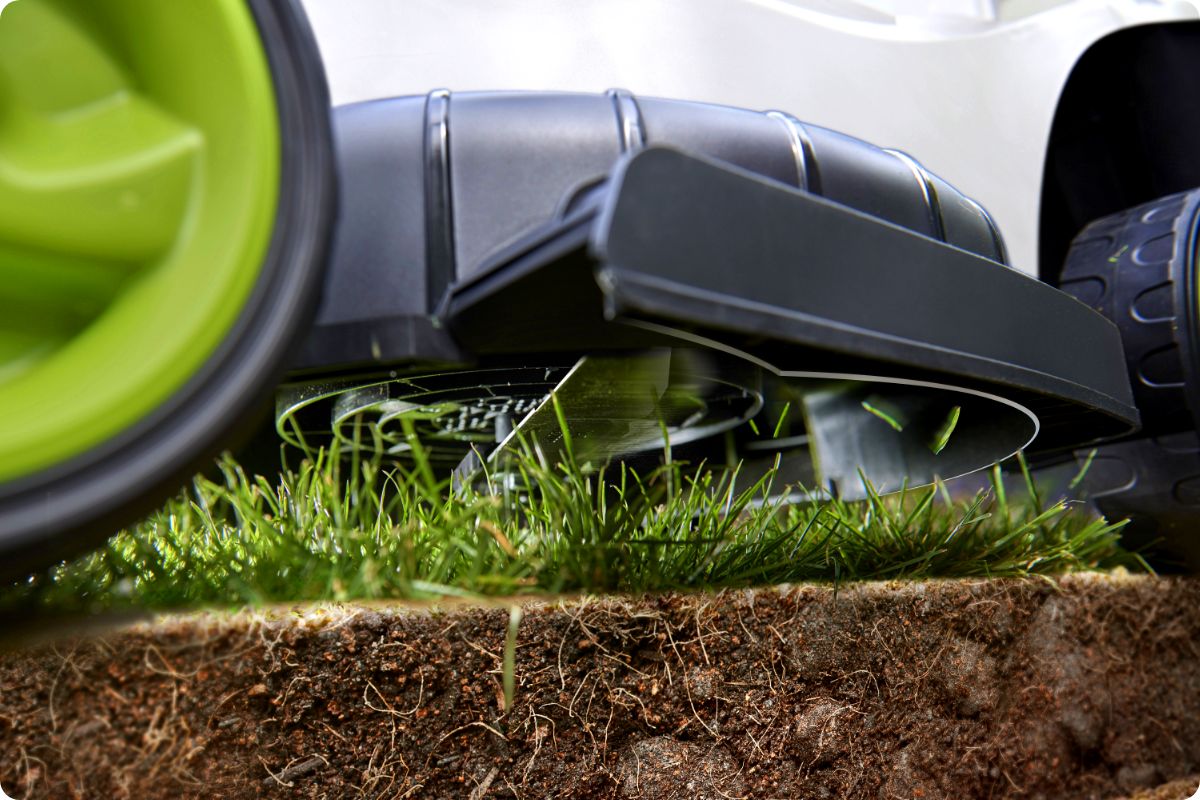
The best lawn mower for stripes is one that allows you to adjust the cutting length to a desired height, as this plays a key role in getting that lush lawn stripe effect.
You need a healthy length on your grass to allow the striped lawn to shine. If you cut it too low then the contrast between the two shades won’t be as defined, but too long and it’ll make your garden appear messy.
Around 20-40mm is best to create a clean, sleek looking lawn stripe. You can adjust your lawn cutting height with our CLM50 lawnmower, to help you effortlessly achieve lawn stripes!
3. Create an outline
To get the best out of your lawn stripes, you’ll want each line to be perfectly straight. To make this easier, you’ll want to create an outline around the edges of your garden first.
All you need to do is run your lawnmower around the very edges of your garden. Try to create a shape as close to a rectangle or square as possible, as this’ll be easier to manage when we come to mowing the lawn stripes into your grass.
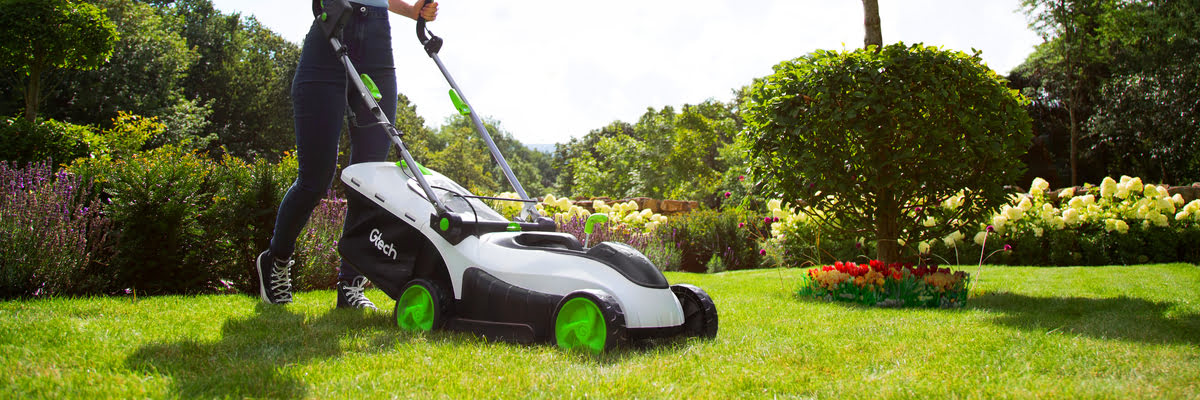
4. Start mowing
Now we’ve got the basics, and an outline sorted, we can actually start cutting the lawn stripes into your grass.
1. Decide whether you want to start with a dark or light line and position yourself accordingly – mow towards you for a dark line and mow away for a light line.
2. Then, align the wheels of your mower against the edge of the outline we created in the step before.
3. Go ahead and mow! Push the mower to very end of the grass, until you reach the bottom of your outline mark.
4. Repeat these steps in alternating fashion to create the perfect lawn stripes of dark and light lines.
TOP TIP: You want your lines to be as straight as possible for the best effect. To do this, try focusing your eyes on something in the distance as you mow your lawn stripes, as this’ll help you stick to a straight line.
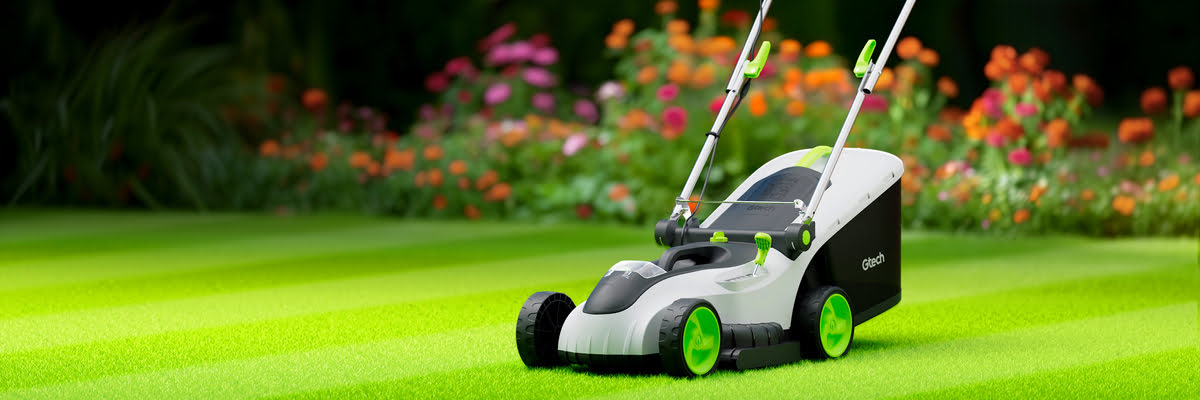
5. Stay on top of lawn care
You should now have the perfect striped lawn in your own garden, and all without the use of a roller! Now, it’s important to keep on top of lawn care to maintain this sleek look.
In general, you’ll want to mow your lawn every two weeks. Make sure to water it, especially during the warmer months when the grass dries up quicker. Also, remove any weeds as soon as you spot them, to keep them from stealing the nutrients from your new striped lawn.
You can find more top tips for lawn care for every season on our blog!
And that’s all! Just like that, you’ve got your own striped lawn, straight from the glossy pages of your favourite gardening mag! Want to learn more about caring for your garden? You can find out how to make your own compost or how to trim your hedges over on our blog.