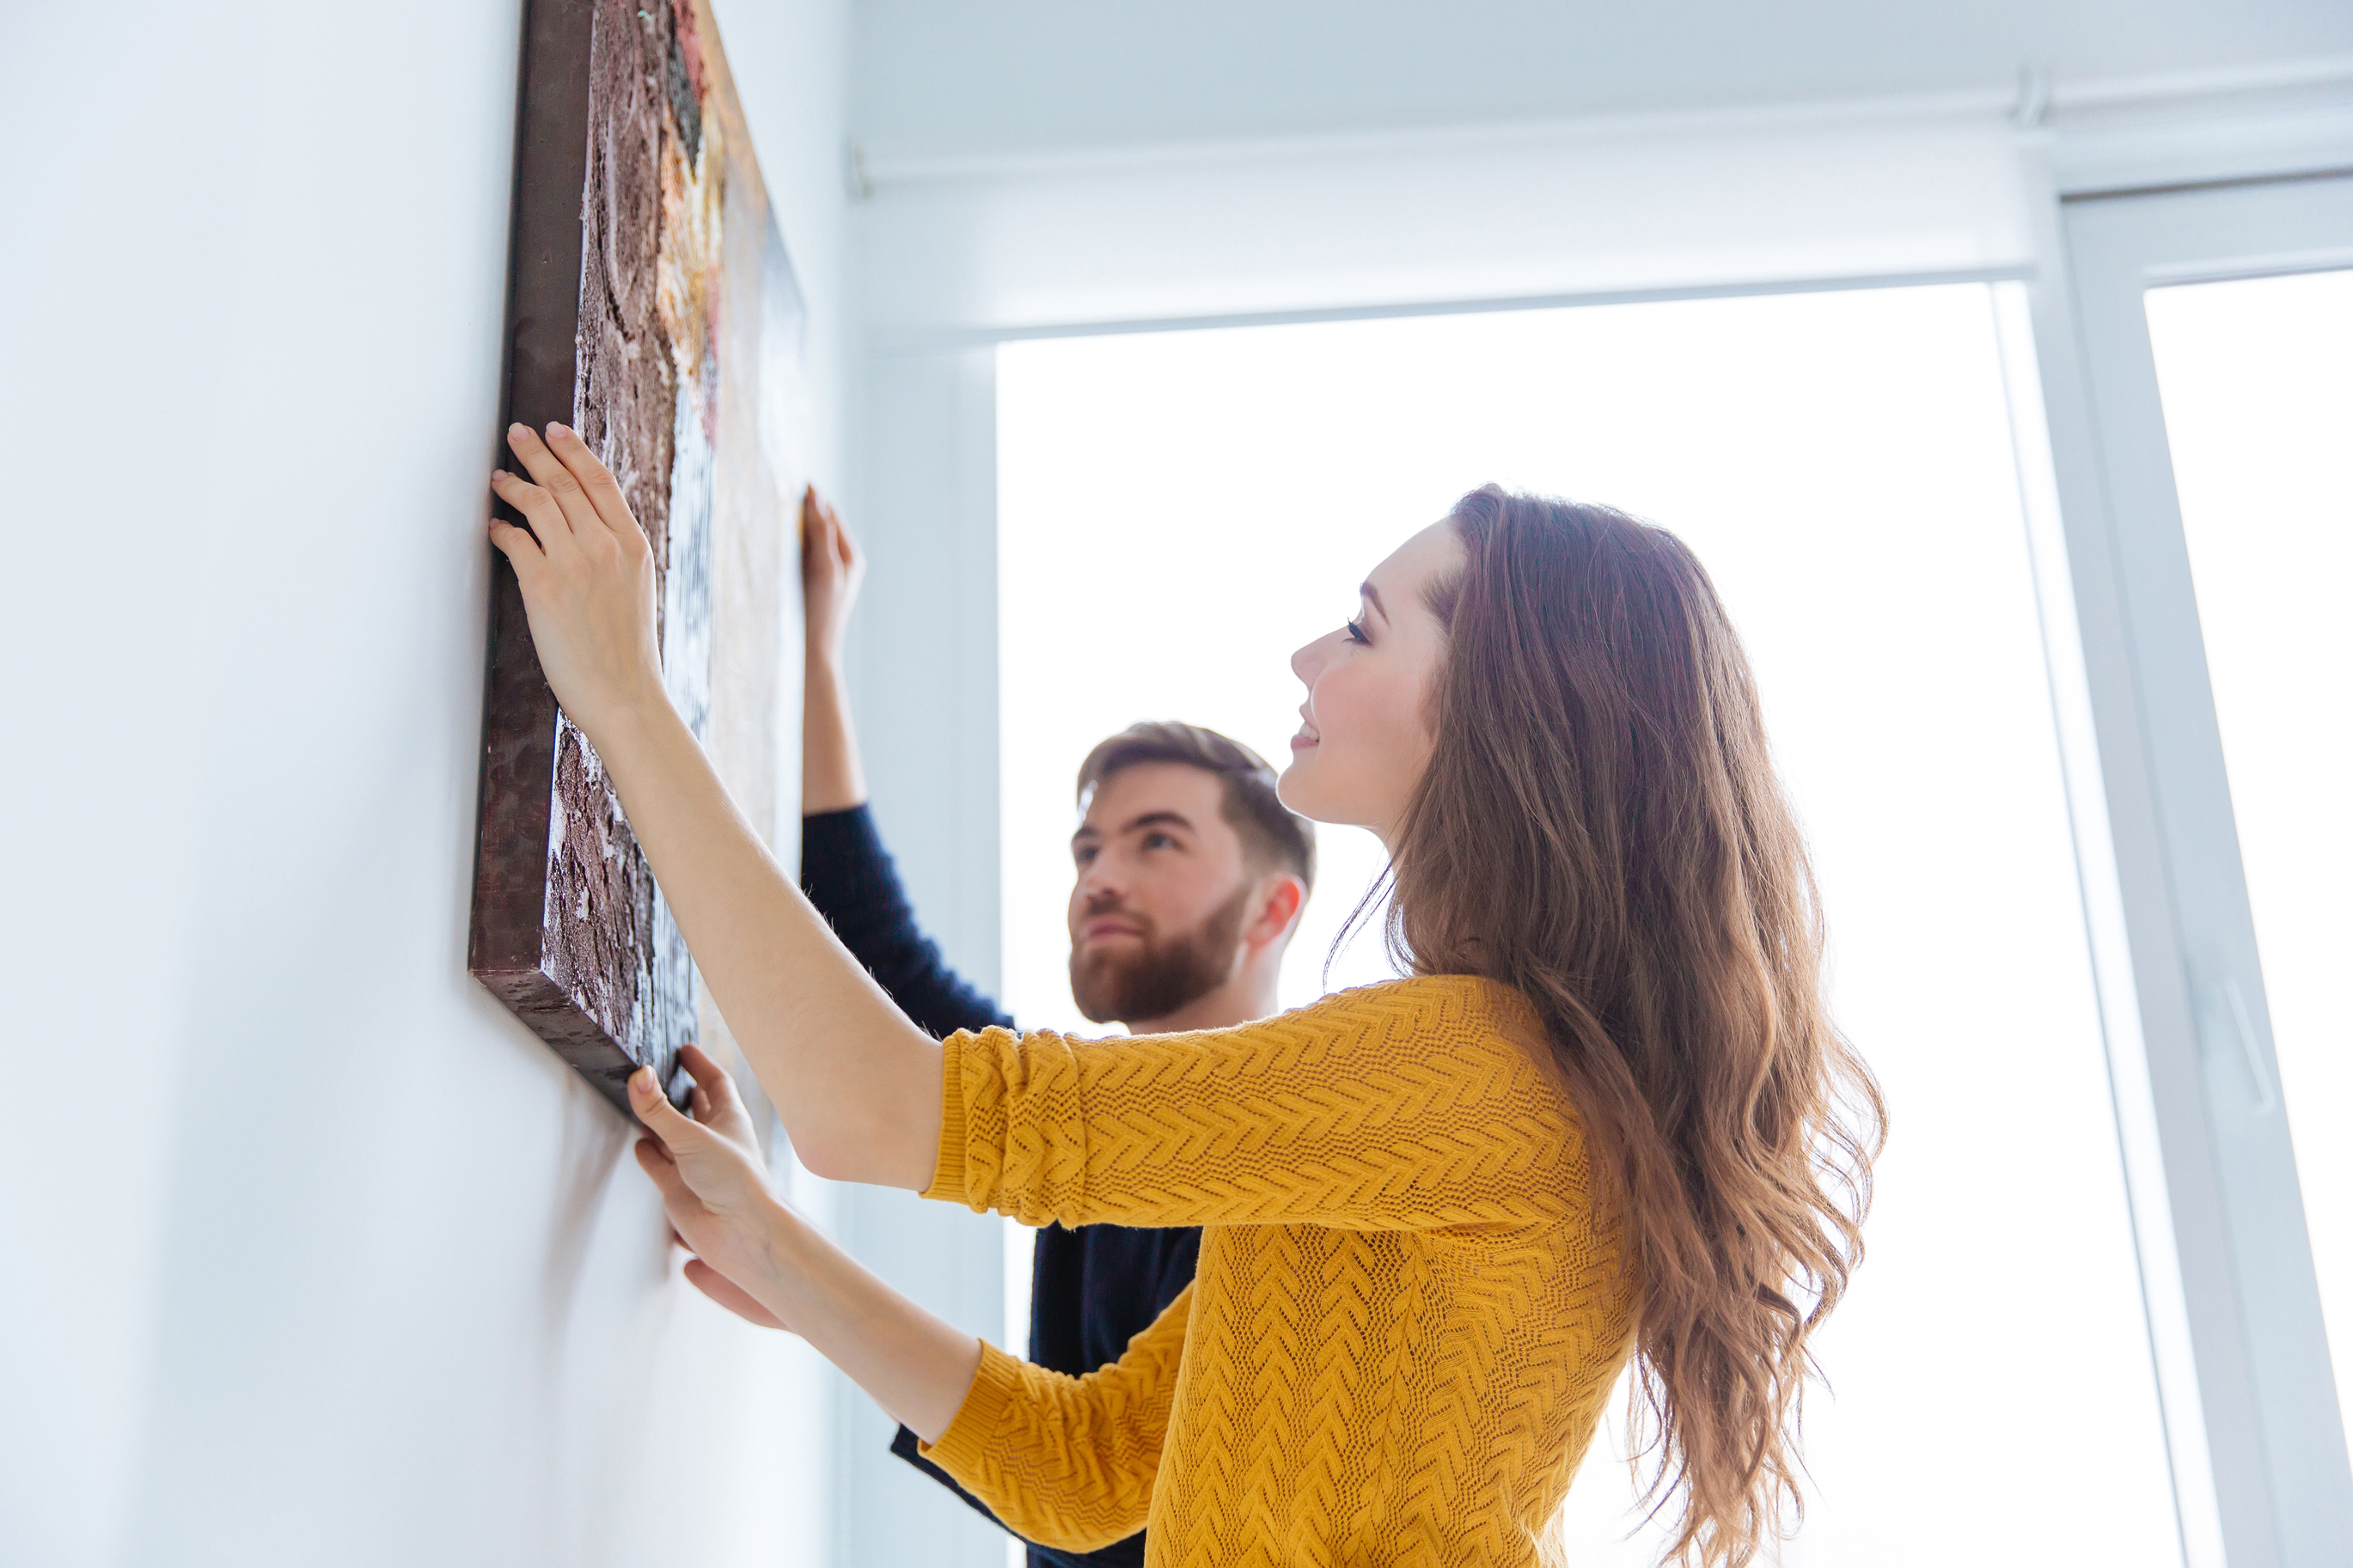
Hanging up art or family photos is a super simple home improvement task to personalise and bring a bit of joy to your décor. But how do you go about hanging pictures safely?
Well, we’ve got a step-by-step guide to help you hang pictures on your wall with ease. Whether it’s dry wall, brick, or plasterboard, we’ve got all the know-how to put those photos up safely and easily.
For the best way to hang a picture and how to hang pictures without nails, continue reading, below.
What tools do I need to hang a picture?
Before we get into how to hang a picture frame, let’s make sure you’ve got all the necessary tools to get the job done safely.
So, check out your DIY tool box to be sure you’ve got the following power tools and DIY bits to hand:
- Tape measure
- Pencil
- Spirit level
- Nail or wall stud
- Masking tape
- Power drill
- Command strip or adhesive wall hook
Got thesetools at the ready? Well, then let’s get to hanging a few pictures!
How to hang a picture in 4 simple steps
1. Mark where your photo will go
First things first, take a look at your wall and decide where you’d like to hang your photo. Above your bed, on the empty wall next to the TV, or perhaps in the hallway – it’s up to you.
Settled on a spot? Well, next you’ll need to grab your tape measure and pencil to create a small mark on the wall. This helps ensure you’re hanging your pictures in the right area, they’re straight, and there’s enough space for each photo to hang properly.
Simply take your tape measure and place it straight against the wall. Then, use your pencil to make a small, gentle line. Just enough to be able to see it when you’re hanging your photo, but not so long that it’ll stick out the sides of the frame.
TOP TIP: You can use non-sticky masking tape to protect the wall from pencil marks. Just place the tape where you want to hang your picture, then you can draw your line on there, before peeling it away once your picture is up.
2. Make sure it’s straight
You now know where your photo will go, and you’ve marked your line. So, next you’ll need to make sure it’s straight.
Now, you might be a natural artist who’s able to tell just by looking whether a line is straight. But if not, then there’s no shame in using a spirit level as your handy picture hanging assistant! Simply line it up with the mark on your wall and watch the little bubble in the middle.
If the bubble is outside of the two lines, then that means your line is slightly wonky. Bubble within the lines? Well, you’ve got yourself a nice, straight line ready for hanging pictures!
3. Choose your hanging materials
Straight mark created, we can now get the appropriate materials for hanging the picture on the type of wall you have.
- Drywall: You’ll want to use a regular, traditional nail here. However, if you’re hanging a heavy picture – 20lbs (around 9 kg) or more – then you’ll need a wall stud to provide a safe, sturdy anchor for your photo. You can find these in most DIY stores if you don’t have one to hand.
- Brick: You’ll need a wall stud to hang pictures on brick walls as well. Pop a masonry attachment onto your power drill, as this allows your drill to go through mortar and not actual brick. Our Cordless Combi Drill comes complete with three masonry bits, which makes light work of hanging pictures!
- Plasterboard: Take extra care when hanging pictures on plasterboard, as it’s a very gentle material, which may crack and crumble. In general you’ll want to follow the same steps as drywall – use a regular nail, unless hanging pictures weighing 20lb or more. However, you should pre-drill your hole with plasterboard. Pop some masking tape around where you plan to drill before doing so to help stop any crumbling.
4. Start hanging your picture
With all the prep work done, you can actually start to hang your photo on the wall!
So, take the nail or wall stud and place it against the mark we made not long ago. Take your power drill and drill the hanging material into the wall, making sure to be extra careful.
Once done, you can go ahead and pop your photo on the wall – a job well done!
Can you hang a picture without nails?
Yes – you absolutely can hang a picture without nails!
Whether you’re worried about wall damage, or your rental contract includes a strictly no-nail policy, hanging a picture without nails is a great work around.
To do so, simply pick up some command strips or adhesive wall hooks. Make sure to follow through steps one and two, above, to ensure you’re hanging your picture on straight first –mark where you photo will go, make sure it’s straight! But to summarise those steps:
1. Using a pencil and a tape measure, lightly mark exactly where you’d like your photo to go on the wall.
2. If you can tell whether your photo is straight by just looking at it, then that’s great, but you can always use a spirit level to be extra sure. Simply line it against the pencil mark you just drew and check to see whether your line is straight.
And that’s all! It’s easy as 1, 2, 3. All that’s left to do is stand back and admire your handy work.
Got the DIY buzz after hanging your own pictures? Well, you can check out how to create your own DIY pallet table for indoors or invest some TLC into your garden and discover how to make your own compost all on our blog.