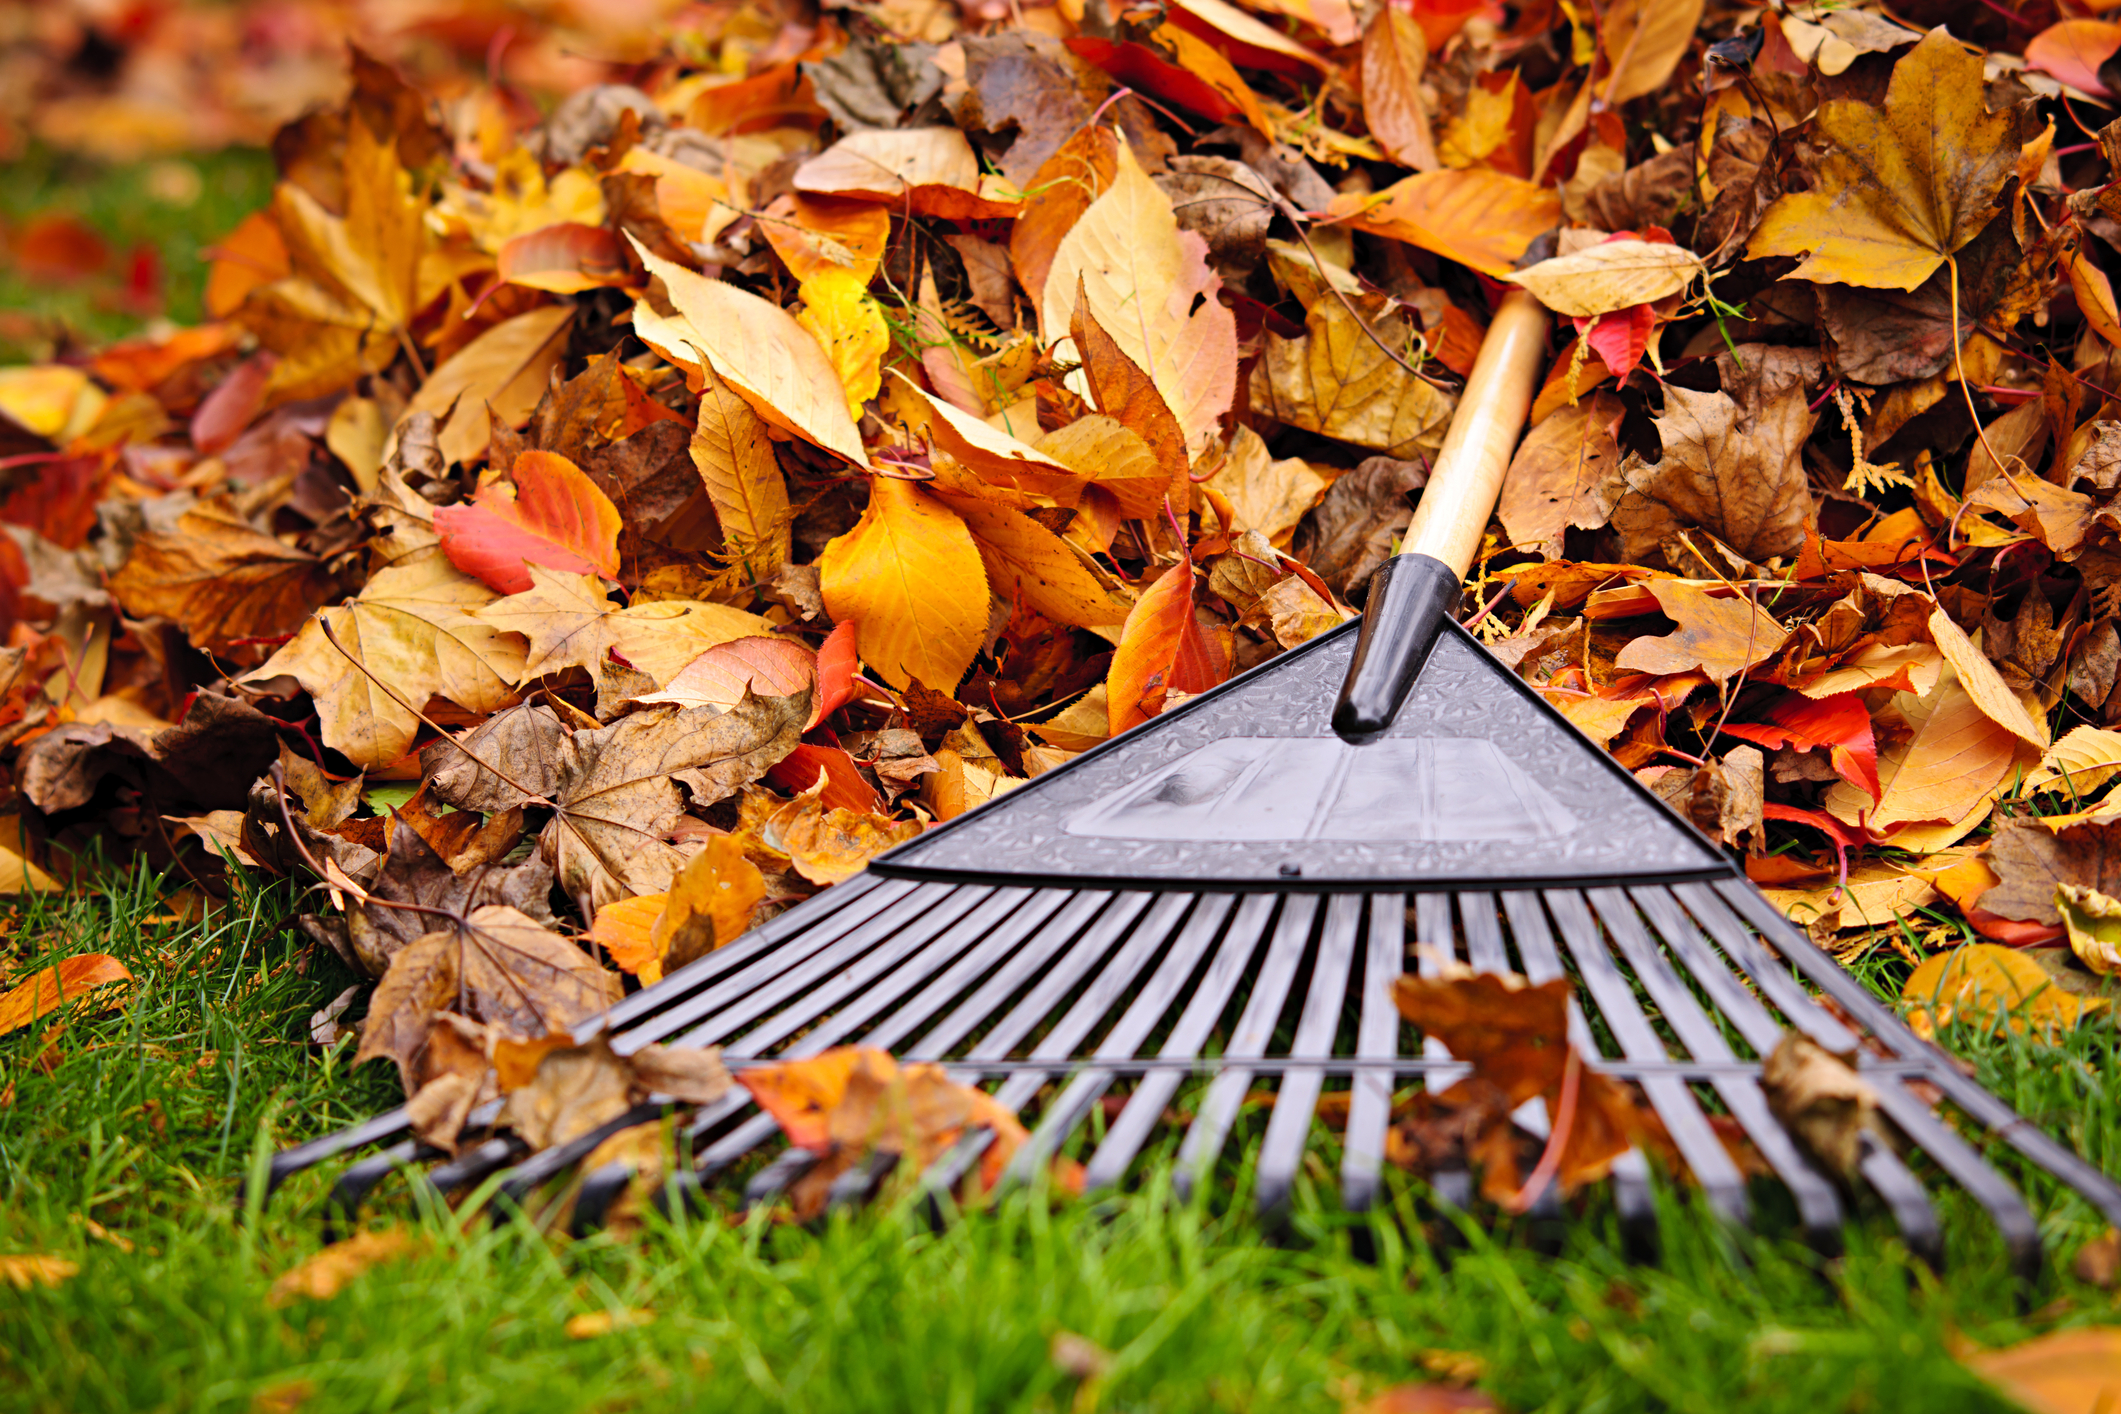
Ever wondered what to do with all the fallen leaves scattered across your freshly-mown lawn? Well, we’ve got just the trick for you – leaf mould!
Leaf mould is a useful garden material you can create at home that not only recycles these pesky fallen leaves, but it also has plenty of benefits for your garden!
Want to know more? Keep reading to discover what leaf mould is, how to make it, and how it can benefit your outdoor spaces.
What is leaf mould?
Put simply, leaf mould is exactly what is sounds like – decomposed (mouldy) leaves. But there’s a bit more to it than that.
Leaf mould is what happens when fallen leaves are left to naturally decompose. The decomposition process turns the leaves from their light, crunchy, dry texture into a dark, crumbly, slightly wet texture – this is when we can use it to benefit our garden.
The longer you leave leaf mould to decompose, the better it’ll be. While it’s possible to make leaf mould in 6 months, you can actually leave it for as long as two years!
How to make leaf mould
Making leaf mould is fairly straightforward, it just involves a decent container and a bit – or a lot - of patience.
To make your own leaf mould at home, follow these simple steps:
1. Gather any fallen leaves into a pile, removing evergreen leaves like holly or conifer needles as they take a lot longer to decompose than oak or beech trees.
2. Pop on your gloves and use your hands to shred the leaves, making them smaller and easier to decompose.
3. Once gathered and shredded, sweep up your leaves and pack them tightly into your compost bin. If you don’t have a compost bin, you can use a sturdy bin bag with holes to allow moisture to drain and air to circulate.
4. Now, the waiting game begins. Simply leave the leaves for between 6-24 months to allow them to turn into leaf mould.
And that’s all! Make sure to keep checking on your budding leaf mould, adding water using a spray bottle if they start to dry out, and turning them every so often to allow for aeration.
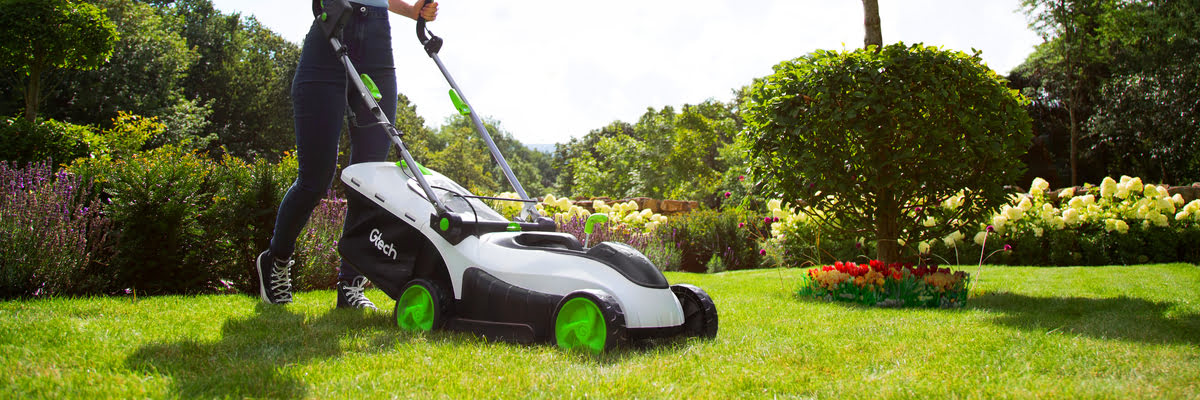
TOP TIP: If you’ve got a large pile of leaves, then you can actually use your lawn mower to shred the leaves for a faster and less strenuous method of shredding than using your hands.
4 benefits of using leaf mould in your garden
1. Improves soil quality
Adding leaf mould to the soil you use in your garden is a great way to give it a natural boost.
In fact, the benefits here are tenfold. Mixing leaf mould into your soil can improve the soil’s structure, drainage, and ability to retain moisture. Plus, a leaf mould and soil mix can actually help keep weeds at bay by preventing their growth too!
2. Protects soil
You can use leaf mould to protect your soil from damaging weather conditions, such winter frost or April showers.
Rain and frost can damage your soil and strip it of its nutrients – not what we’re looking for! By placing a layer on leaf mould over the top of your soil bed, you can help protect the soil and keep your budding fruit or vegetable garden safe.
3. Helps sow seeds
Just as leaf mould can be used to improve soil quality, it can also be used as compost for sowing seeds.
You’ll want to use the older leaf mould that’s nearing the two year mark here, as the texture will be much finer by this point, resembling that of garden compost. You can use this on it’s own or mix it with equal parts compost, sharp sand, and garden soil to make your own potting compost.
4. Recycles waste
Fallen leaves can wreak havoc on your garden, creating mess in what was once a clean and tidy space. Leaf mould is a great way to clean your garden of leaves and recycle them too!
Instead of constantly sweeping up fallen leaves to run to your garden waste bin, you can simply collect them and add them to your leaf mould pile. Now, instead of simply filling up your bin space, you can actually create something beneficial from what used to be waste.
Now you know all the wonderful uses for leaf mould and how to create it yourself, you may be on the lookout for some more gardening advice. To learn more about easy vegetables you can plant or how to make the most of a small garden, head over to our blog.